A $40 vintage Stanley #4 from a garage sale, properly tuned, will take see-through shavings off jarrah and outperform a $300 modern bench plane that hasn't been set up. The plane body is rarely the limiting factor. The blade, the chip-breaker fit, the sole flatness, and the frog seating are what make the difference between a tool that fights you and a tool that purrs.
This is the order to work through any second-hand plane to bring it back to working condition. Most planes are 90% there from the factory or from their last owner — finding the 10% that's wrong is the whole job.
The five things that matter (in order)
- The blade (iron): flat back, polished edge, correct angle.
- The chip-breaker fit: must mate tightly to the blade with no gap.
- The frog seating: must sit flat and tight against the sole casting.
- The sole flatness: critical at the toe, in front of the mouth, and at the heel.
- The lateral adjustment: blade must be parallel to the sole when the lever is centred.
That's the lot. Anything beyond these five — fancy bronze knobs, lever caps that match the era, original japanning — is collector territory, not user territory.
Step one: assess the blade
Look at the back of the blade under good light. You're looking for:
- Pitting: small black craters from rust. Pitting at the cutting edge is fatal — the pit will leave a tear line in the shaving forever. Pitting in the first 5mm above the edge has to be ground out. Pitting further up the back is cosmetic and can be ignored.
- Original grind: is the bevel square to the sides? Is the angle consistent? Most factory grinds are good. Replacement aftermarket grinds vary wildly.
- Steel type: pre-WWII vintage Stanley/Record blades are typically a high-carbon laminated construction that holds an edge brilliantly. Post-WWII to 1980s blades are O1 carbon steel, also excellent. Modern Stanley blades are softer — sometimes worth replacing with an aftermarket O1 (Veritas, Hock, Ron Hock) or PMV-11 blade.
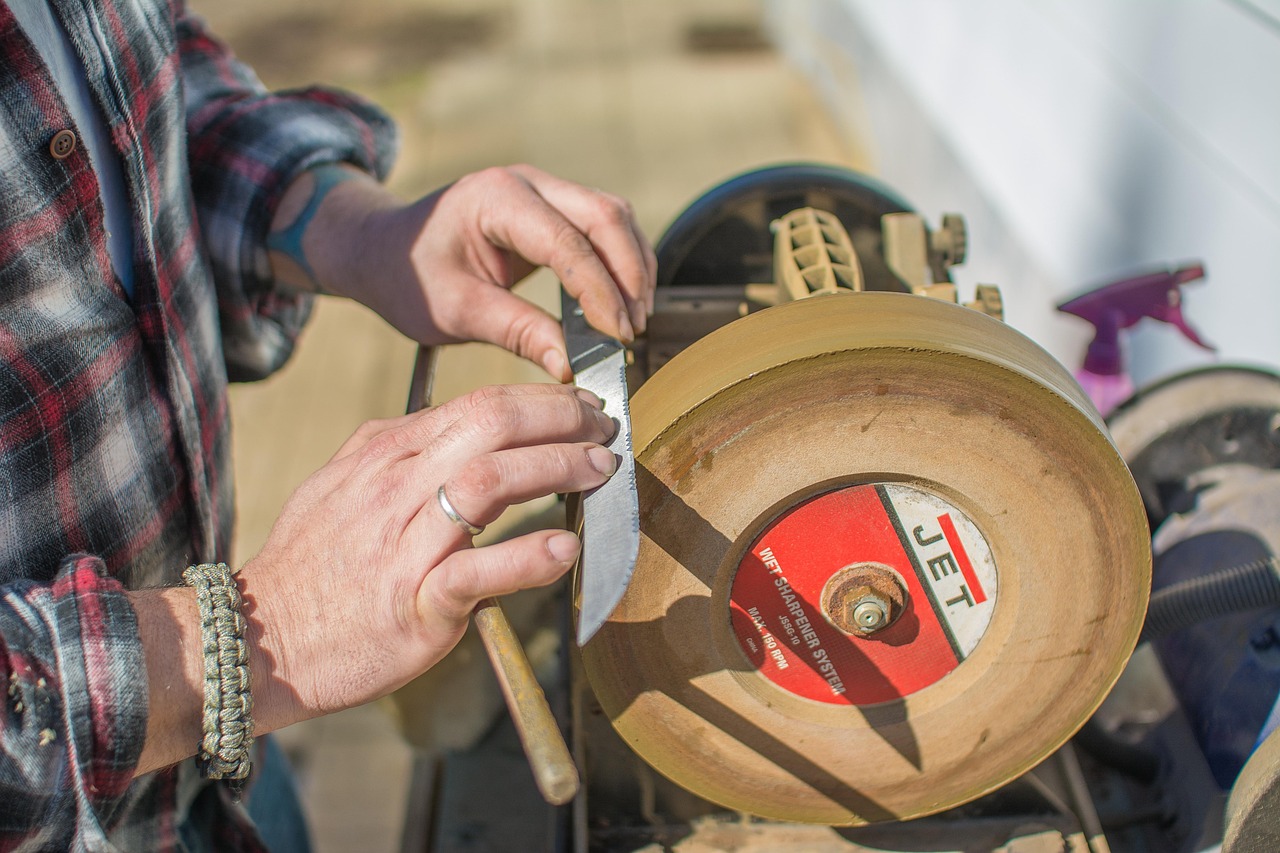
If the cutting edge is pitted, the blade needs to be ground back into clean steel. This means losing 3 to 10mm of blade length — annoying on a vintage iron but not fatal. We can do it on a wet grinder without overheating the steel; freehand on a bench grinder is risky because heat can ruin the temper.
Step two: flatten the back
Same method as the wood chisel back-flattening procedure. Diamond plate, 30 to 100 strokes, focus on the first 10mm above the edge. Move up through finer grits to 8000. The first 10mm of the back should mirror like glass.
One vintage-specific note: if the back has a slight concave (most pre-1960s blades do), don't try to flatten the whole back. Flatten the cutting-edge zone (first 10mm) and leave the rest. The hollow above isn't doing harm.
Step three: the primary bevel and micro-bevel
Bench plane irons (#3, #4, #5, #5½, #6, #7, #8) all want a 25° primary bevel with a 30° micro-bevel. Block plane irons are matched to the bed angle of the plane — 25° for low-angle blocks, 30° for standard-angle blocks. Skew and shoulder plane irons vary by maker.
Hollow-grind the primary on a wet grinder or freehand on a bench grinder (using water dips). Then go to the waterstones for the micro-bevel: 1000-grit for 30 strokes, then 8000-grit for another 30 strokes. The micro-bevel should be a mirror line 1mm to 2mm wide at the cutting edge. Remove the burr on the back the same way as a chisel.
Step four: fit the chip-breaker
This is the step most home tune-ups skip and it's the difference between a plane that tears out around knots and a plane that doesn't.
Hold the chip-breaker against the blade with the screw loose, then look along the joint where the chip-breaker edge meets the blade. You should see no light through the joint. If you see a gap (most second-hand chip-breakers have one), file or lap the chip-breaker leading edge flat on a stone until it sits down tight against the blade.
The chip-breaker should sit roughly 1mm back from the cutting edge for general work, 0.5mm or less for tear-out-prone wood. Less distance means more control over difficult grain.
Step five: the frog and the sole
Unscrew the frog from the body. Check the contact surfaces — they should be machined clean. Some vintage Stanleys have cast surfaces that benefit from a few minutes lapping with sandpaper on a flat reference (granite tile, surface plate, plate glass). The frog should rock if it isn't sitting flat.
Reattach the frog, with the rear edge aligned with the back of the mouth. The blade should sit flush on the frog all the way down without any rocking. Adjust if needed.
For the sole: lay 220-grit sandpaper face-up on a flat surface, run the plane back and forth without the blade. You're looking for a uniform scratch pattern at the toe, in front of the mouth, and at the heel. Hollows in the middle are fine — they don't affect performance. Move to 400-grit for 5 minutes, then 600-grit, then call it done. Don't try to mirror-polish the sole — wax (paste furniture wax) on a slightly rough sole runs smoother than a polished one.
The lateral adjustment
With the blade in and projecting slightly, look along the sole from the toe. The blade should be parallel to the sole. The lateral adjustment lever moves the blade left or right — get it centred so the lever sits in the middle of its range when the blade is parallel. If the lever has to be fully one side to centre the blade, the blade is ground out of square and needs regrinding.
What can wreck a vintage plane (avoid these)
- Sanding the sole on a non-flat surface: a tile that isn't flat will make the sole worse, not better. Use granite or plate glass.
- Bluing the blade on a bench grinder: ruins the temper permanently. Always dip in water every few seconds; or do all blade grinding on a wet grinder.
- Over-flattening the back of a laminated blade: vintage laminated irons have a soft iron back layered onto hard steel. Grinding the back too aggressively can expose the soft iron at the cutting edge.
- Replacing the original blade with a thicker aftermarket blade without checking: thicker blades can foul the mouth opening on standard frogs.
When to send a plane iron in
Three scenarios where professional sharpening is the right call:
- Heavy pitting at the cutting edge: needs to be ground back into clean steel without overheating. A wet grinder does this safely; a bench grinder is risky.
- You don't own a diamond plate or waterstones: the basic kit is $300+ and isn't worth buying for a single plane.
- Vintage laminated irons: getting the geometry right matters more than on modern blades and the consequences of a mistake are bigger.
Our hand plane blade sharpening service handles bench, block, shoulder and rebate plane irons including vintage Stanley, Record, Mathieson, Norris and Spiers. From $12 per blade, Australia-wide. Place an order online for instant pricing.
The bottom line on garage-sale planes
A $40 pre-1970s Stanley or Record, tuned properly, is a $300 plane. The body is fine, the casting is solid, the only weak link is usually the blade and the chip-breaker fit. Spend an evening on the tune-up, send the blade in for a clean re-grind if it's pitted, and you'll have a tool that takes shavings as thin as you can see them.
For more on the overall service process, see our guide on how to safely post blades for sharpening.