A wood chisel does three things at once that the owner can never quite reproduce at the bench: the back is dead-flat across its full length, the primary bevel is square to the back, and the cutting edge is polished bright enough to shave hair off your forearm. All three matter. Without all three a chisel pares ragged, mortises wander, and the tool fights you instead of doing the work.
This is the cabinetmaker's method — back flattening, primary bevel, micro-bevel, in that order — that gets any chisel from "blunt enough to pare softwood" to "scary sharp" in 20 minutes once you've done it a few times.
What you need at the bench
You don't need a workshop full of sharpening gear. A practical setup:
- A coarse diamond plate (DMT XX-Coarse or equivalent) for back-flattening and primary bevel work. Diamond is faster than waterstone for the heavy work and never goes out of flat.
- A 1000-grit waterstone for setting the micro-bevel.
- A 6000- to 8000-grit finishing stone (waterstone or Arkansas) for the polish.
- A honing guide: a Veritas Mk.II or a Eclipse-style side-clamp. Freehand is possible but the guide gets you to repeatable angles, which matters more than purist authenticity.
- A flat reference surface: a granite surface plate or a piece of plate glass. You'll use it to check stone flatness.
Total kit cost: $300 to $500 in Australia for a setup that handles every chisel and plane iron in your shop for the rest of your life. Don't bother with $30 oilstones — they're a false economy.
Step one: flatten the back
This is the step everyone skips and the step that matters most. A chisel back is the reference surface — every cut a chisel makes is straight only if the back is flat. Most new chisels off the rack (Stanley, Bahco, Narex, even some Sorby) come with a back that's slightly hollow or convex toward the edge. You have to fix this before anything else.
- Lay the back flat on a coarse diamond plate, edge facing toward you.
- Push the chisel forward and back with the back pressed down by your fingertips just behind the edge. Stay in the first 30mm above the edge — you don't need to flatten the whole back, just the section that will register against the wood during a cut.
- Watch the scratch pattern. After 20 to 50 strokes the back will show a uniform scratch pattern across the bottom 10mm. Where the scratch pattern is missing, the back is hollow — keep going until it's uniform.
- Move to a 1000-grit stone and repeat. Then to 8000-grit. By the finishing stone the back of the chisel should be mirror-bright across the first 10mm.
This is a one-time job. Once the back is flat you never touch it again on the coarse stone — only the finishing stone, briefly, every few sharpens. Heavy back-flattening on a chisel that has rust pits or a deeply hollow back can take 30 minutes per chisel. That's the price of admission for a chisel that performs.
Step two: primary bevel
The primary bevel is the main grind angle of the chisel. Most bench chisels are ground at 25° from the factory. Mortise chisels are ground at 30° to 35° for durability. Paring chisels at 20° to 25° for slicing softer wood. Set the chisel in the honing guide at the design angle and grind on the diamond plate until you see a fresh scratch pattern across the full bevel width.
You should not need to do heavy primary bevel work unless the chisel has chipped, been ground at the wrong angle, or has rolled the edge over from heavy use. For routine sharpening, skip this step and go straight to the micro-bevel.
Step three: micro-bevel
The micro-bevel is a small secondary bevel ground at 2° to 5° steeper than the primary. For a 25° bench chisel, the micro-bevel is at 30°. The micro-bevel gives you the actual cutting edge, and because it's tiny (under 1mm wide) you can polish it to mirror-bright in two or three minutes instead of the 15 minutes it would take to polish the whole primary bevel.
- Set the honing guide to your micro-bevel angle (typically 30° for bench, 35° for mortise, 25° for paring).
- Work on the 1000-grit stone for 30 to 60 strokes. You should see a tiny scratch line right at the cutting edge.
- Move to the 8000-grit stone for another 30 to 60 strokes. The scratch line becomes a mirror-bright line.
- Feel for a burr along the back of the cutting edge. Once you feel a continuous fine wire edge, the micro-bevel is done.
- Remove the burr by laying the back of the chisel flat on the 8000-grit stone and doing 5 to 10 light strokes. The burr breaks off cleanly.
Test the edge by paring across the end-grain of a piece of pine. A properly sharpened bench chisel will leave a glassy surface with no visible tear-out. If the surface is fluffy or shows scratches, the burr isn't fully removed or the back isn't flat enough.
Carving gouges and V-tools
The cabinetmaker method doesn't apply to curved gouges and V-tools. These need slipstones shaped to match the inside of the sweep, ground by hand at the original angle. The outside bevel is ground on a flat stone but the inside has to be done with a slip. This is one of those areas where home setup is possible but professional sharpening is genuinely faster and usually gives a better edge.
Japanese laminated chisels (oire-nomi)
Japanese chisels have a hard high-carbon steel laminated to a softer iron back. The back has a hollow ground in it (called the ura) — you only flatten the small bevel around the perimeter of the back, never the hollow itself. The primary bevel is at the design angle (varies by maker; 25° to 30° typical) and the polish goes higher than Western chisels — 12000 to 30000 grit on natural Japanese waterstones for serious work. The setup is different enough that most Western woodworkers learn the technique badly before learning it well. If you own a set of Japanese chisels and aren't sure, send one in once to see what the original geometry should look like.
What dulls a chisel fastest
- Hardwoods with mineral inclusions: jarrah, ironbark, ebony, some teak. The silica content in the wood acts like sandpaper on the cutting edge.
- Hitting nails or staples: even small contact chips a polished edge instantly. Always check reclaimed timber with a metal detector before chisel work.
- Wrong angle for the wood: a 20° paring chisel used to chop mortises in hardwood will roll the edge in minutes. Match the bevel angle to the work.
- Letting the chisel sit on a wet surface: rust pits the polished edge and the back. A clean, dry chisel rack is the single best edge-preservation habit.
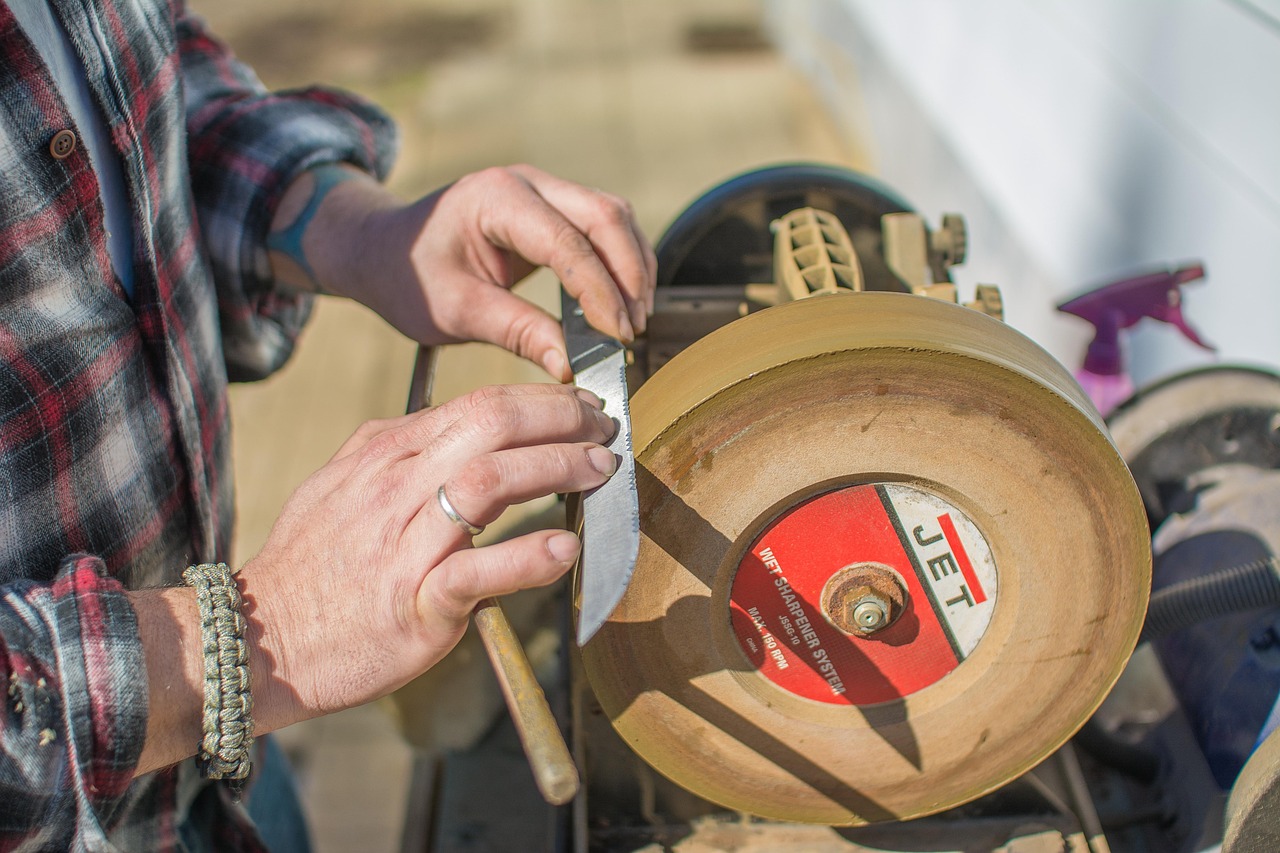
The diamond stone vs waterstone debate (settled)
Use diamond for heavy work and waterstones for polish. Diamond cuts faster on hard steel and never goes out of flat. Waterstones polish higher and feel better in the hand, but they wear hollow and need re-flattening. The hybrid setup (diamond + waterstone) is faster than either alone, and is what every professional cabinetmaker's shop I've visited uses.
When to send a chisel in
Three situations where professional sharpening is genuinely worth the postage:
- Vintage chisels with pitted backs: heavy lapping of a rusty back can take 30+ minutes per chisel on diamond. We do it on a wet grinder in 5 minutes per chisel.
- Carving gouges and V-tools: the inside grind needs shaped slipstones most home shops don't have.
- Japanese laminated chisels you don't want to mess up: the ura can be ruined permanently by over-flattening. One professional sharpen lets you see the correct geometry before you set up your own bench routine.
Our wood chisel sharpening service handles bench, mortise, paring and carving chisels with the full cabinetmaker method — back lapped flat, primary bevel ground square, micro-bevel polished to 8000-grit. From $10 per chisel, Australia-wide mail-in. Place an order online for instant pricing.
For more on the overall sharpening process, see our guide on how to safely post blades for sharpening.