A dull drill bit doesn't just drill slowly. It wanders off the punch mark, work-hardens stainless steel as it overheats, splits brad-point bits down the flute, and burns the temper out of the cutting edge until the bit is past saving. Most tradies bin a $20 cobalt bit at that point. They shouldn't.
This guide gives you the angles, the freehand method that actually works, the jig options that take the guesswork out, and a clear line on which bits are worth your time vs which are cheaper to mail in. After 30 years on the bench I have a strong opinion: HSS twist drills from 6mm up are always worth resharpening — most can take five to ten sharpens before they're past it.
The two angles that matter
A standard twist drill has a point angle (the included angle at the tip, viewed from the side) and a lip relief angle (the back-clearance behind each cutting edge). Get these wrong and the bit either won't cut or won't centre.
- 118° point angle: general purpose. Mild steel, aluminium, brass, plastic, timber. This is what 90% of HSS bits ship with from the factory.
- 135° point angle: stainless steel and tough alloys. The flatter point reduces walk on hard, work-hardening surfaces. Most cobalt bits ship at 135°.
- Lip relief 8° to 12°: behind each cutting edge. Too steep and the bit chatters; too shallow and the bit rubs without cutting.
If you don't know which angle your bit was, look at it under a phone torch and roll it slowly. A 118° point looks visibly sharper than a 135° point side-by-side. When in doubt, 118° is the safe choice for HSS twist drills under 13mm.
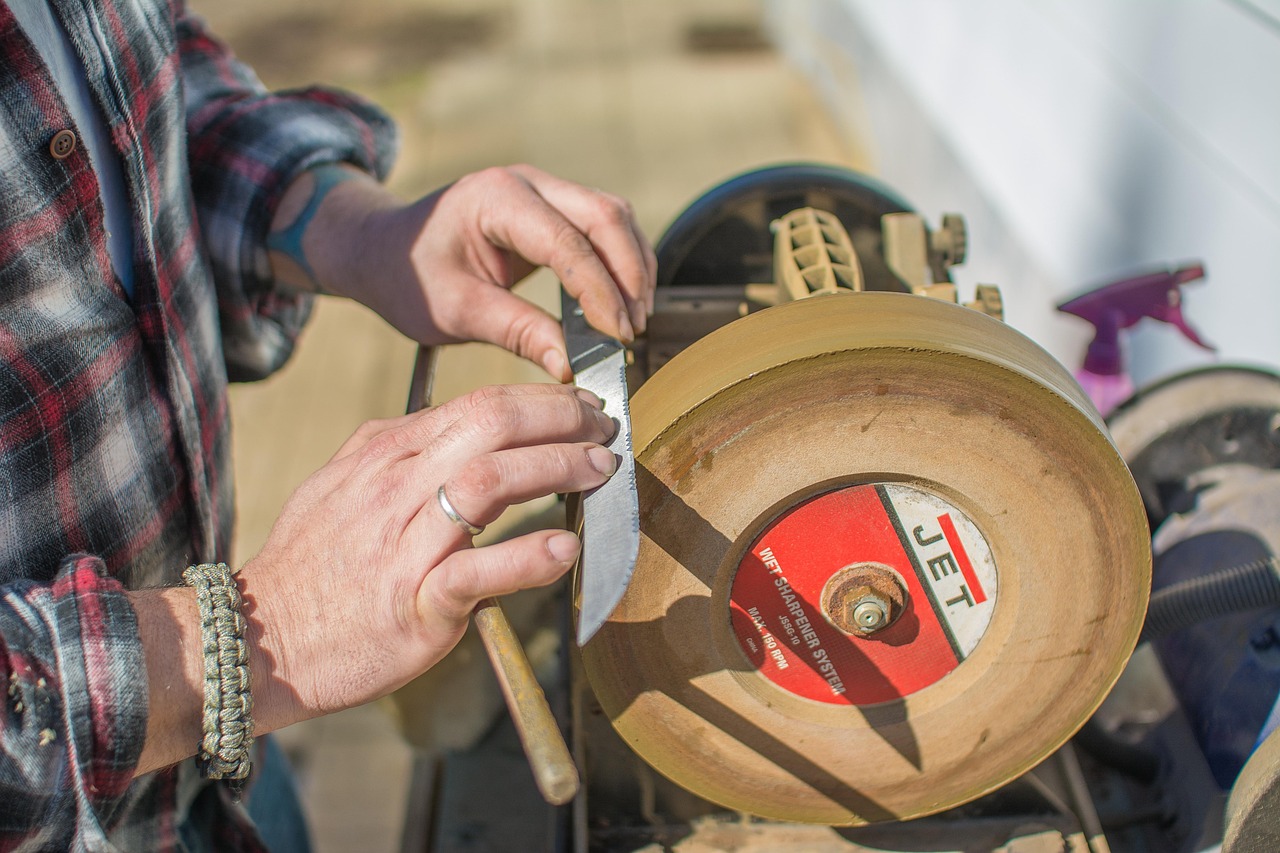
The freehand grinder method
You'll need a bench grinder (preferably with a fresh aluminium oxide wheel) and water to dip the bit. Don't use a wet/dry wheel for steel — they're for carbide.
- Set the tool rest to about 60° to the wheel face. This gives you a starting reference for the point angle.
- Hold the bit by the shank with your dominant hand and rest the body on the tool rest with your other hand acting as a pivot.
- Approach the wheel with one cutting lip aligned along the wheel face, the heel of the lip touching the wheel first.
- Roll the bit slowly down and to the right while drawing the shank back. This is one continuous motion — three or four seconds per lip. The roll creates the lip relief automatically.
- Dip the bit in water after every pass. Heat is the enemy — once you blue the steel, the temper is gone and the bit is finished.
- Flip the bit 180° and repeat on the other lip. Match the length of both lips by eye — uneven lips drill oversize holes.
- Test on scrap. A properly sharpened bit produces two even spiral chips, one from each lip. If you get one chip, one lip is doing all the work.
This is a skill that takes practice. Your first ten bits will be average; by your fiftieth you'll be quick and consistent. If you sharpen bits regularly, get a Drill Doctor-style jig — they're $300 to $600 in Australia and take the guesswork out.
Bits worth doing yourself
- HSS twist drills 6mm to 13mm: the easiest bits to freehand and the most economical to replace if you stuff one up.
- HSS bits 13mm+: definitely worth sharpening — replacement is $40 to $150 each.
- Cheap import bits under 6mm: arguably faster to bin and replace, but the practice is good.
Bits worth sending in
- Cobalt bits: harder steel means heat builds faster and the temper is easier to ruin. We grind on a coolant-fed precision machine that holds the angle to a tenth of a degree.
- Masonry / SDS bits: the carbide tip needs a diamond wheel. Freehand on an aluminium oxide wheel will glaze the carbide and do nothing.
- Brad-point and lip-and-spur bits: the centre point and outer spurs are ground separately. Get the geometry wrong and the bit tears wood instead of slicing it.
- Forstner bits: rim, scoring teeth and centre spur are three separate grinds. A jig won't help — these need specialist equipment.
- Step drills: each step is sharpened individually. Possible at home but tedious.
- Vintage tap-and-die work bits, reamers, countersinks: precision tools where freehand work usually makes them worse.
The cost comparison that matters
A 6mm HSS twist drill is $3 to $8 in Australia. Sharpening that bit for $4 is barely break-even. A 13mm cobalt bit is $25 to $45. Sharpening for $8 is a clear win. A Forstner bit is $30 to $80 each. Sharpening for $14 is no contest.
The rule: once a bit costs $15+ to replace, sharpening is always the right call. Below that, freehand sharpening on your own grinder is a skill worth learning but professional sharpening is hard to justify economically.
For bulk workshop bit cases — typical 50 to 200 bit kits that any joinery or fab shop runs — our drill bit sharpening service handles the lot in 2 to 3 days workshop time, with bulk pricing on 20+ bits. Most workshops send their full kit case once a quarter; for the cost of two or three replacement cobalt bits the entire case comes back factory-sharp.
The mistakes that ruin bits
- Overheating during sharpening: blueing the cutting edge destroys the temper permanently. Once blue, the bit will dull again within one or two holes regardless of how sharp it looks.
- Uneven lip length: drills oversize holes because the longer lip cuts wider than the shorter one. Most off-spec bit work is from uneven lips.
- Wrong lip relief: too steep and the bit chatters; too shallow and it skates without cutting.
- Sharpening masonry bits on the wrong wheel: aluminium oxide won't touch carbide. You need diamond.
- Drilling at the wrong speed: a sharp bit run at the wrong RPM dulls almost as fast as a blunt bit. Larger diameters need slower speeds. As a rule of thumb: 25mm in mild steel runs at 200 to 300 RPM, 6mm at 1500 to 2000 RPM.
Maintenance that doubles bit life
Three habits, free, that will double the time between sharpens:
- Cutting fluid on every steel hole over 5mm. A squirt of cutting oil before the hole and a dip every few seconds keeps the cutting edge cool. Heat kills bits faster than any other single factor.
- Pilot holes for any hole over 8mm. The chisel point of a twist drill does no useful work and just creates heat. A 3mm or 4mm pilot lets the cutting lips do their job from the moment the bit starts.
- Correct pressure: let the bit cut. If you have to push hard, the bit is dull or running too fast. Pushing harder accelerates the dulling.
How to mail bits in
Slot bits back into their original index or wrap each bit individually in cardboard so the tips don't damage each other in transit. Full cases ship in their own box. Loose bits go in a padded satchel for 10 to 20 bits, or a rigid box for full sets. Australia Post Express reaches Gunning, NSW in 1 to 2 business days from any capital city. Our mail-in process is the same as for clipper blades and scissors — order online, post, we sharpen, we return-post.
The bottom line
Sharp bits drill faster, make cleaner holes, and last longer between sharpens because they aren't fighting the work. HSS twist drills from 6mm up are worth resharpening — most can take five to ten sharpens before they're past it. Cobalt, masonry, brad-point and Forstner bits all reward professional sharpening because the geometry matters more than the cost saving.
For one-off sharpens or a full workshop kit, our drill bit sharpening service handles all bit types Australia-wide. Place an order online for instant pricing.